Add account – Options menu
It works like this:
-
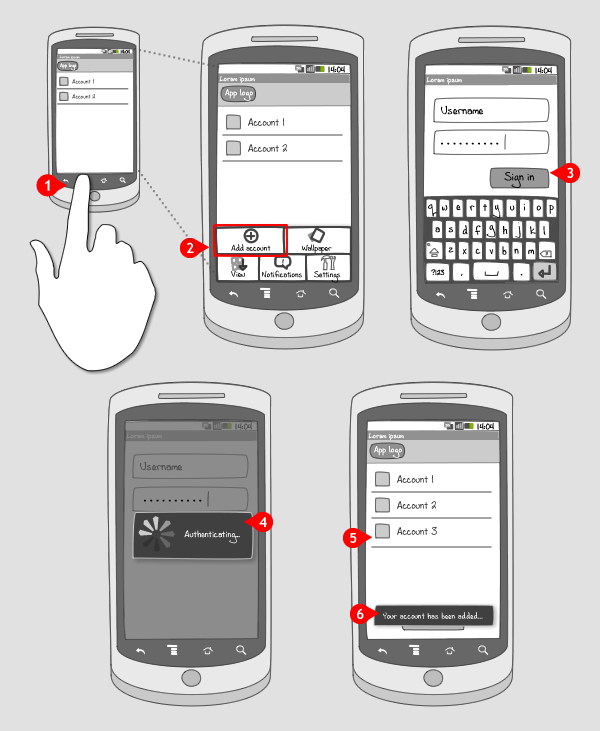
When the user presses the menu hard key…
-
The options menu slides into the screen, and the ‘Add account’ option is tapped.
-
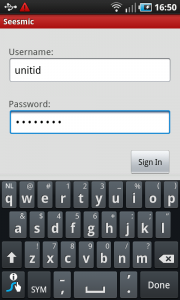
The user enters username and password, and taps the ‘Sign in’ button.
-
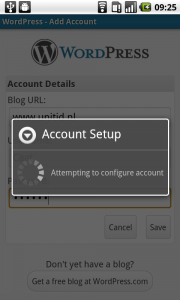
The account is then verified…
-
… and when done added to the list of accounts.
-
A toast message confirms that the account has been added.
Use when
The option to add an account has to be applied in apps that can handle multiple accounts. Instead of signing out, and logging in with an other username and password, two or more accounts can exist next to each other. The user should also be able to switch between those accounts and create or remove accounts.
When it is not important to have the option to add an account somewhere in the screen using a dedicated button, you should put it in the options menu. You can also think of putting the options both in the screen and in the options menu.
The Good
- Doesn't take up any screen real estate
The Bad
- The user has to find out that the option is available
- It takes one extra tap to get to the 'add account' option
Examples
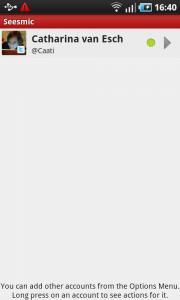
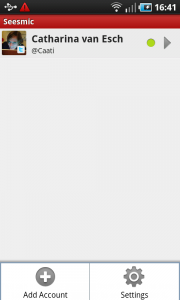
Seesmic


Wordpress


